Mercury transit

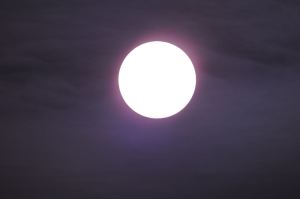
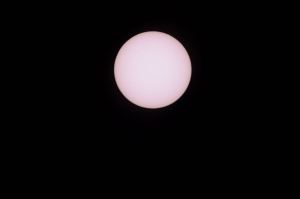
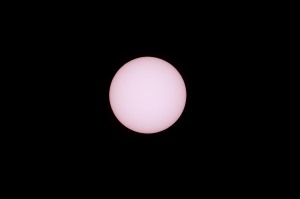
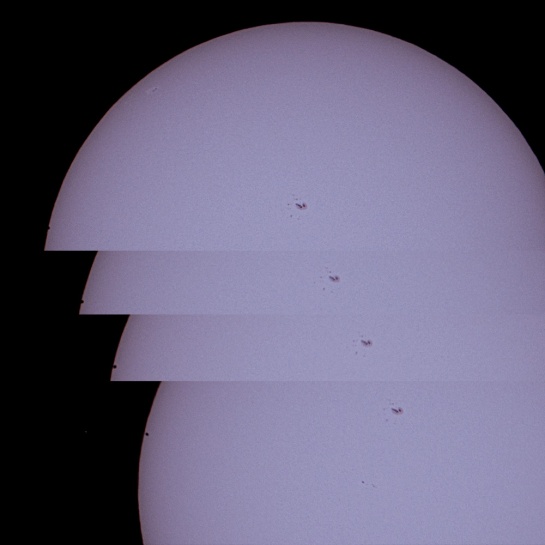
Mercury_sequenceOn 9 May 2016, shortly after 12 noon, the planet Mercury passed across the face of the Sun and the whole transit, lasting over seven hours, was visible from the UK.  Resistance is futile, and the prospect of the transit screamed “TIME LAPSE VIDEO!” even though Mercury would be only 9 pixels in diameter on the 12MP sensor of my Nikon D90.

I reckoned that about 15 seconds of video would balance the attraction of seeing Mercury crossing the edge of the Sun against the potential tedium of watching a black dot crawl across a white disc, so I settled on 400 frames at 10 per minute – 40 minutes of transit – rendered at 30 frames per second for a smooth video of a tolerable 13 seconds.

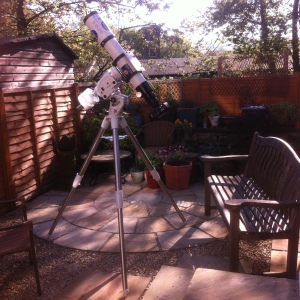
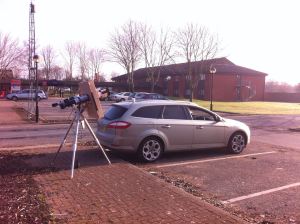
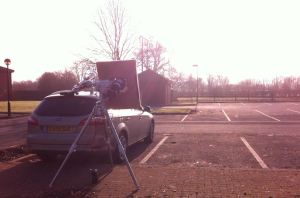
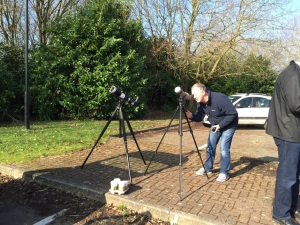
Mindful of the seasickness-inducing bounces of the Sun in the viewfinder during my solar eclipse time lapse, and the hours I spent realigning some 800 frames by hand, I set up the mount the previous night and aligned it as well as possible using the limited view of the stars from my back yard.  After the third iteration, the handset reported polar alignment to below one arcminute of error.

IMG_4151

Focusing on the Sun would be the next challenge, so I decided to pre-focus and leave the camera in place overnight.

This is the focusing frame through the Bahtinov mask and…


IMG_4160

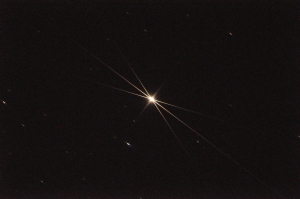
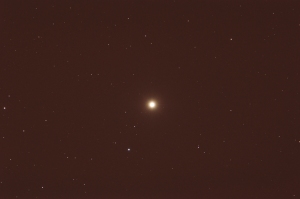
…a quick five-minute unguided frame of Arcturus.  I went to bed happy.


IMG_0792

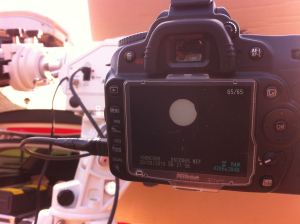
Next morning, the sun rose in a cloudless sky and the kit was waiting exactly as I left it.  Restarting the mount from the “Park” setting was faultless, and the GOTO put Mercury (and therefore the Sun) right in the frame first time.  The temperature change from night to day meant that the focus was awry, so I spent time refocusing using a sequence of trial-and-error photos and a felt tip pen on the focusing knob.


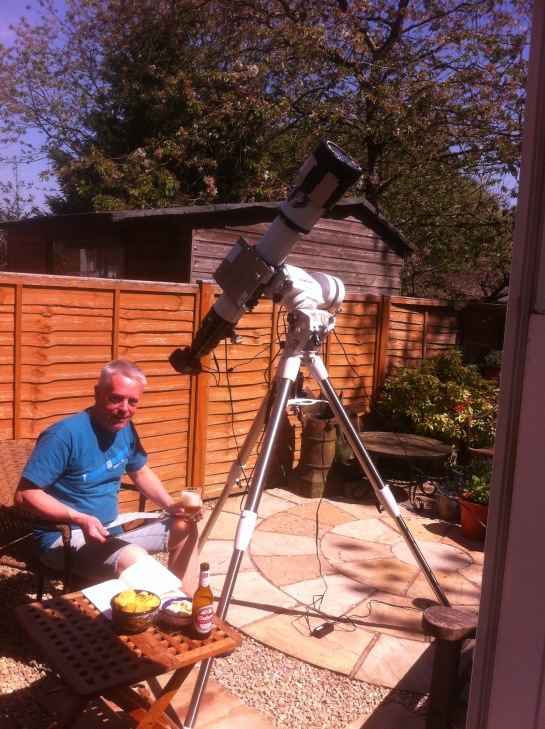
The reminder alarm went off at 12:10 and I started the sequence on the timer.  This device will take up to 399 frames, which suited me perfectly.  With the mount and the camera running on mains adapters rather than batteries, there was little to do but relax and enjoy the sunshine.  I watched the black dot creep onto the white disc through the viewfinder, so I can say absolutely that I observed the Mercury transit as it happened.

IMG_0803

After 400 frames, conditions were so good and the quality of the images was so strong that I swapped the memory card in the camera and reset the timer for a second batch.  40 minutes later, same again.  And again.  And again.  By the time the Sun moved behind the house, I had accumulated 1,887 frames, so the resulting video covers over three hours of the transit and lasts 63 seconds.

There are two versions of the video – the first is sharpened using Adobe Camera RAW then the frames are cropped and the Sun is centered in each frame using an excellent piece of software called PIPP.  The second version includes a digital zoom created with further cropping.  There’s still quite a shimmy on the Sun, but I can’t process that out – much of it is down to atmospheric conditions.  It is tempting to try and align all the subframes by reference to the sunspots, but the Sun can be seen to be rotating over the course of the video so that wouldn’t work.


What can be achieved with relatively modest off-the-shelf kit and a little planning never ceases to amaze and delight me.
Lunar eclipse 28 September 2015

Torn between astrophotography and sleep for this one!  Our walking holiday on the Amalfi coast had finished on Saturday with a beautifully long slow lunch among friends on the terrace at Leonardo’s in San Lazzaro, and our late flight out of Naples finally put us down at Gatwick at about 11.30pm.  Overnight hotel at the airport, train journey to have lunch with my mother-in-law (where we had left the car) then a five-hour drive home to Cumbria.  We arrived home in the early evening on Sunday, ready to drop.

The Moon was set to move into the Earth’s full shadow at about 2.15 Monday morning, so I set the alarm for 1.30, as you do.  The forecast was good, it had been improving steadily over the last couple of days, and I guessed that if I woke up and looked out just before the start of the action I would be able to decide whether it was worth setting up a session.

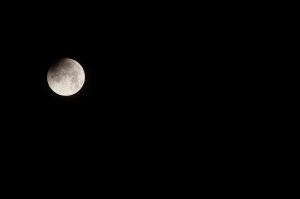
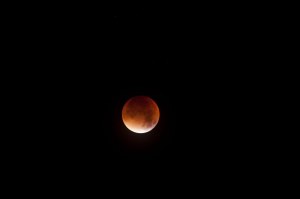
1.30 brought glorious clear sky and an added bonus: the Moon’s position meant that I could catch at least a couple of hours from my own back yard.  That was the deciding factor – just the trusty DSLR on a tripod with the 300mm telephoto lens.  This was the view at the start, reproduced actual size in the viewfinder:

2.06am. The shadow is just visible. Nikon D90 through Nikkor Nikon 300mm f/4 AF. 1/1250 sec f/8, ISO 800.

2.06am. The shadow is just visible.
Nikon D90 through Nikkor Nikon 300mm f/4 AF.
1/1250 sec f/8, ISO 800.

I decided to take one shot every 30 seconds, with the intention of stitching them together as a time-lapse video.  Of course the Moon drifted fairly quickly across the frame so the tripod had to be adjusted every few shots.

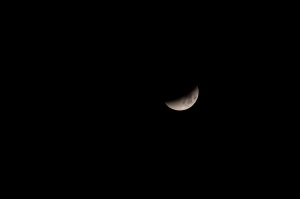
2.45am: 40 minutes into shadow.

2.45am: 40 minutes into shadow.

By the time the Moon was about to disappear behind the house, it was in full eclipse.

3.12am: increased exposure to see the illumination in full eclipse. 1 sec @f/5.6, ISO 1000.

3.12am: exposure increased to see the illumination in full eclipse.
1 sec @f/5.6, ISO 1000.

Noticeably very red to the naked eye – and the camera – it was somewhat of a disappointment in binoculars as the brightness dropped so significantly.  This could be because the Moon was almost at perigee (the so-called “supermoon”), closer to the Earth than normal and therefore deeper into the cone of the Earth’s shadow.  The air went a little murky too, so the final shots lost some definition.

Each frame had to be cropped and realigned to make the video run smoothly.  Stitched together and reduced from 4288 x 2848 to 1000 x 1000 pixels, these make a reasonable time-lapse.

The dilemma of self-interest -v- public outreach on eclipse day!

The solar eclipse of Friday 20th March 2015 presented a real dilemma: as an enthusiastic and committed member of the Eddington Astronomical Society, I wanted to be part of the event organised in Kendal, but as an individual amateur astronomer/astrophotographer, I wanted to see (and film) the eclipse.  Kendal was forecast to be under cloudy skies, but a couple of hours drive would take me away from all my EAS colleagues, two radio stations and 500 enthusiastic members of the public, beyond the edge of the cloud layer to full sunshine.

After much soul-searching the night before, I set the alarm for 4.30am.  The first job was to check the forecast again – yes Kendal was still going to be cloudy, but Oswestry (about half an hour south of Chester) would be clear.  Self interest won the battle, so after a quick coffee and a final kit check, I hit the road.

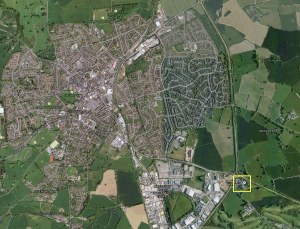
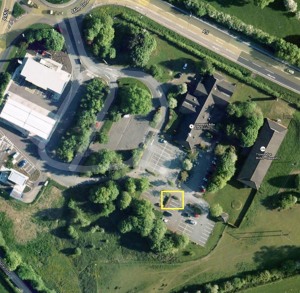
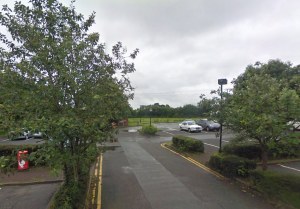
This was my intended destination, from Google Maps.  I liked the look of the car park at bottom right, with unimpeded views over the golf course.

Oswestry

Mile end

car park view

I arrived in good time to go and say Hi to the staff at Little Chef, use their facilities and buy a Cappuccino, then on with setting up the rig.  The AZ-EQ6 mount will take two scopes in Alt-Az mode, so I had rehearsed a configuration with the Altair Wave 115 carrying the Nikon D90 on one side, and the Skywatcher Evostar 102 with a 15mm eyepiece on the other.  A triple thickness of Zoltan Trenovski’s business card was needed as a shim to align the tubes just right.

setup2

setup1

A couple of test frames to check the focus and the exposure:

sun too bright

too bright…

sun out of focus

too blurred…

Focal length 636mm f/5.53 1/400 sec ISO 200

Focal length 636mm f/5.53 1/400 sec ISO 200   Just right!

At six frames per minute, within 10 minutes there’s a clear view of the eclipse starting.

viewfinder

After 864 frames and a weekend of aligning and processing, we have half a minute of time-lapse video 🙂

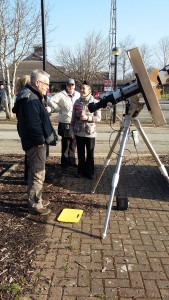
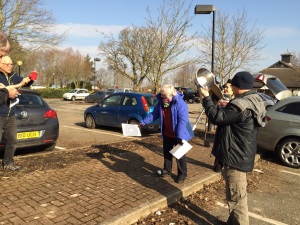
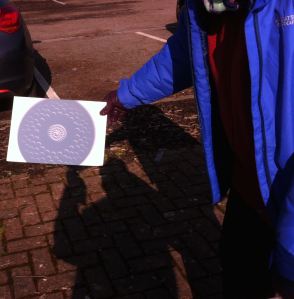
There’s lots more to be said here – other people had had the same idea and we spent time comparing notes, the wonderful manager of Burger King / Little Chef kept bringing me free coffee and letting her staff come out to take a look through the telescope, everyone who used the carpark came to have a chat, and of course someone had brought a colander…

20150320_091556

The coffee supply!

IMG-20150325-WA0003

Doing optical experiments with kitchen equipment…

IMG-20150325-WA0005

Spotting scope and a beautiful Televue both with solar filters.

colander

I hope that some of the wonderful characters gathered in the carpark that morning will manage to get in touch and send their photos to simon.white@simoninthelakes.co.uk so that I can display them here.  I’ll update this post with anything they wish to add.

PANSTARRS time-lapse video – processed

The unprocessed version of this video was rather disappointing. See PANSTARRS time-lapse video for details.

I took a fresh look at Fred Espinak’s videos of PANSTARRS, and compared our exposure settings. Fred’s videos used the same camera and lens as mine, but he chose f/5.6, ISO 800, 2 sec and ISO 1600, f/5.6, 4 sec. My settings of ISO 400, f/8, 2 sec are two stops and four stops respectively darker than Fred’s, and it shows.

This version of my same video has been reprocessed in Photoshop to boost the exposure by two stops. It’s crude, but shows how much better that choice of setting would have been. I have also taken the opportunity to sharpen the frames a little, and crop too. The cropping accentuates the judder of the movement caused by taking a two-second exposure every five seconds – and processing to play at 15 frames per second.

Fred Espinak’s video of PANSTARRS with the Moon is just stunning.  Arizona does have wonderful skies.  Cloudy skies in the North-West of England are very frustrating, but I live here by choice, so shouldn’t grumble.  On the other hand, it would be nice to have another go at this comet before it fades away.

PANSTARRS time-lapse video

The frames for this video were taken at Eddington Astronomical Society’s “Comet Watch” public event on Wednesday, 13th March 2013.  A clear but cold evening found us at Kendal Castle with a crowd of up to a hundred members of the public, who joined us in looking through telescopes, binoculars and cameras to enjoy the spectacle.

All JPEG frames 200mm f/8, ISO 400, 2 sec.

Comet PANSTARRS sets on the western horizon from Kendal Castle.

I’m not terribly happy with this one.  It would be easy to blame the distractions of the crowd, people wanting to have a look, ask questions, offer opinions, but I welcome all of those interactions so they can’t be to blame.

I should have realised how much the sky would darken as the comet aproached the horizon in the fading twilight, so a brighter exposure – anticipating the final conditions – would have been better.  That comes down to lack of experience, so lessons learned and I’ll have another go as soon as the sky is clear again.

2012 DA14 time-lapse video

This is the edited and processed result of a three hour astrophotography session at the top of the Shap Road, north of Kendal, Cumbria on the evening of 15 February 2013.

Each frame in the video is a large file jpeg (12MP) on a Nikon D90 exposed for 13 seconds at ISO 6400, using a 28mm lens at f/4. I took a total of 323 frames at 4 frames per minute. They are joined and played at 10 frames per second, making the video 150x normal speed.

Asteroid 2012 DA14 is only 30 metres across, and is heading away from the Earth having approached to within 28,000 kilometers. For the whole of the shoot, it was invisible to the naked eye (magnitude 7+ by this time) and moving across the sky at about one degree of arc (that’s about twice the visual diameter of the moon) per minute.

The forecast clear skies turned to clouds, the fog spread from Kendal, the motor drive on my equatorial mount failed, it was about minus 5 celcius and I had forgotten my down jacket, hat and gloves. Apart from that everything went quite well! It was pitch dark throughout. The orange clouds are reflection of urban light, only showing because of the long exposure, wide aperture and high film speed setting.

2012 DA14 is the dot moving from bottom right to top left of the dark panel. I had no idea I’d succeeded in catching anything until I put the video together back home.

Processing details (Photoshop):

-The dark panel is an area where I eliminated all data below a certain threshold. That’s a quick and easy way of reducing the skyglow.

-For each frame in the dark panel I then isolated the asteroid in a small disc-shaped layer. I maximised the contrast within that disc, then increased its brightness to match its background to the surrounding dark panel background, effectively making the disc disappear and increasing the brightness of the asteroid.

Nothing has been cloned or otherwise added to the original data.